How To Install A Pergo Xp Floor

Installing Pergo Flooring Pergo Flooring Pergo Laminate Flooring Flooring

Installing Pergo Laminate Flooring Transitions Stair Nose And Baseboards Laminate Stairs Diy Stairs Carpet Stairs

Install Pergo Laminate Flooring For A Farmhouse Look Pergo Laminate Flooring Pergo Laminate Rustic Flooring

Pergo Xp Laminate Flooring Has An Ultra Realistic Wood Grain Finish Along With A Protective Finish For Double The Wear And Dou House Flooring Home Decor Home
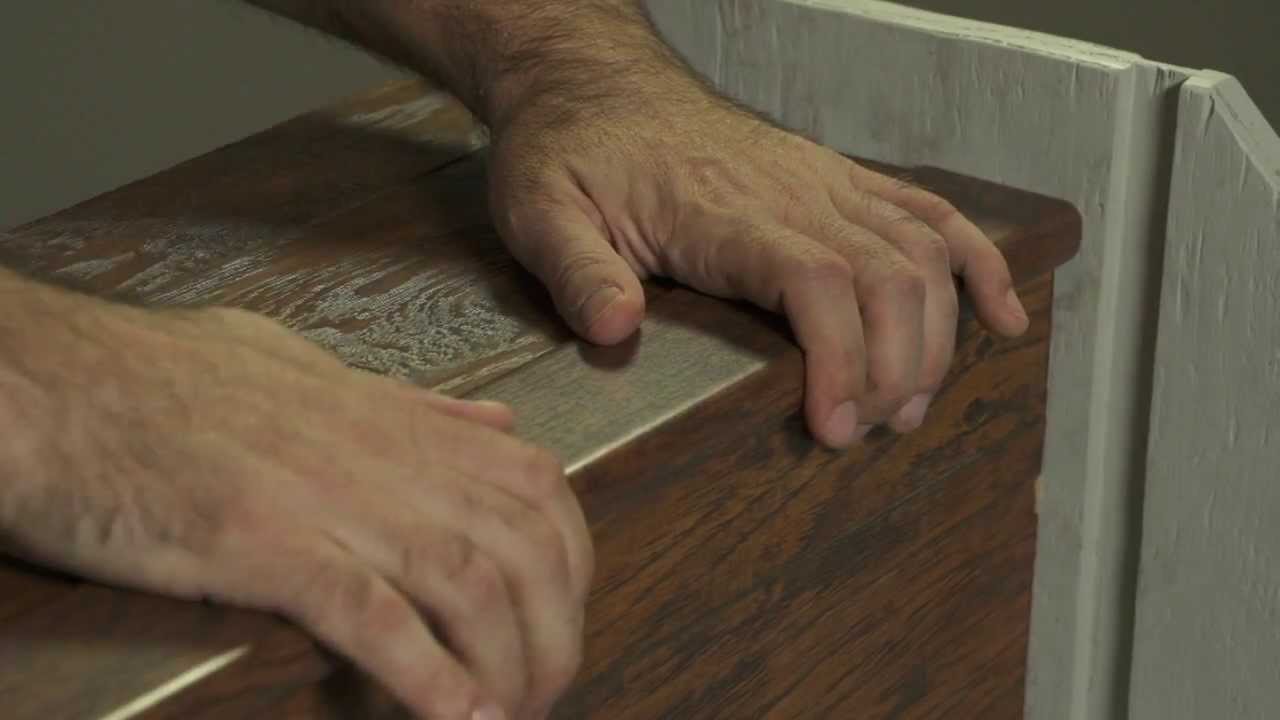
How To Install Pergo Chapter 8 Installing On Stairs Pergo Flooring Pergo House Flooring

User Submitted Photo Wood Floor Design Flooring Hardwood Floors

Http bit ly 1pjgsof check out.
How to install a pergo xp floor.

Southern Grey Oak Pergo Xp Laminate Flooring Pergo Flooring Brown Laminate Flooring Pergo Flooring Gray Wood Laminate Flooring

Pergo Xp Riverbend Oak 10 Mm T X 7 48 In W X 47 24 In L Laminate Flooring 19 63 Sq Ft Case Lf000773 The Home Depot Pergo Laminate Flooring Oak Laminate Flooring Wood Floors Wide Plank

Southern Grey Oak Textured Laminate Floor Dark Oak Wood Finish 10mm 1 Strip Plank Laminate Flo Grey Laminate Flooring Oak Laminate Flooring Laminate Flooring

Laminate Flooring Floors Laminate Floor Products Pergo Flooring Flooring Laminate Flooring Pergo Flooring
Source : pinterest.com
