How To Load Pixscan Mat

Silhouette Pixscan Registration Failed 9 Ways To Fix The Error Silhouette Tutorials Silhouette Silhouette School
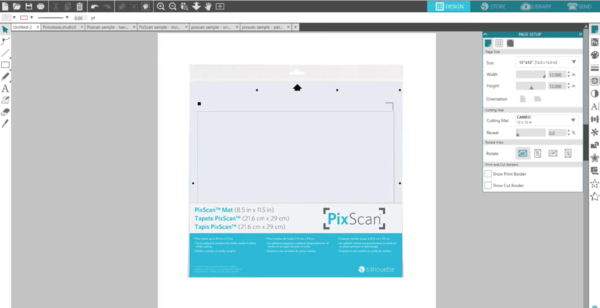
Pixscan Basic Edition And Higher
How To Pixscan
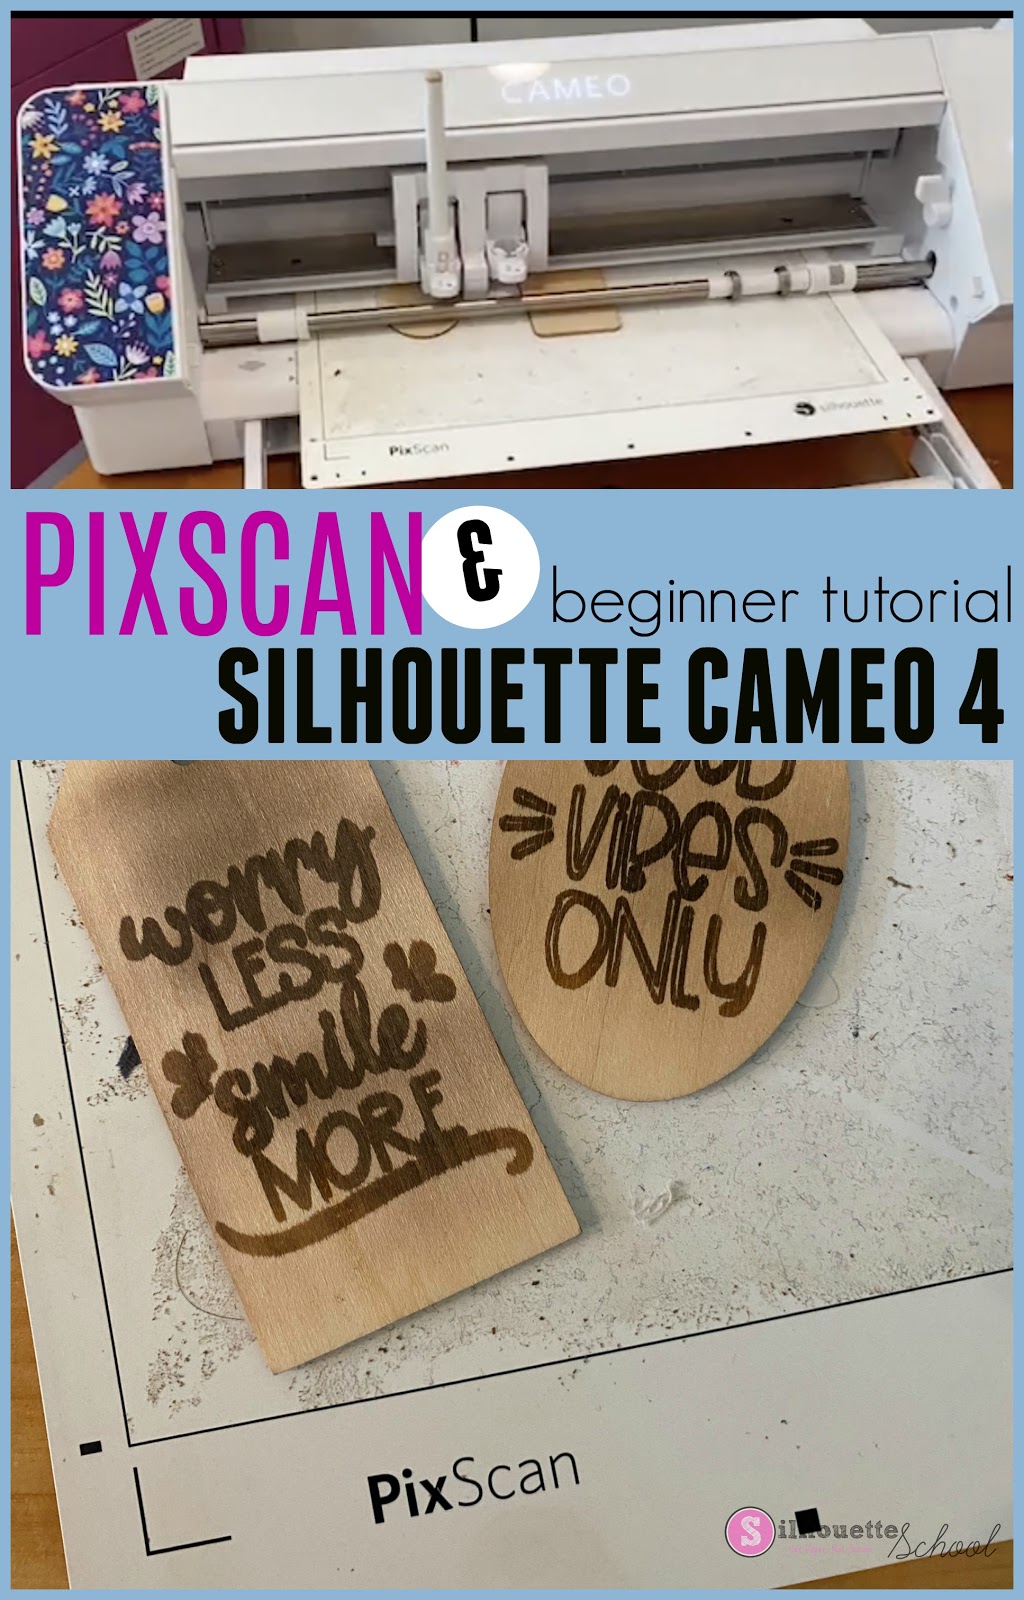
Beginner Silhouette Pixscan Mat Tutorial For Cameo 4 Silhouette School

How To Use A Pixscan Mat With Silhouette Youtube

Changing Silhouette Studio Default Text Size Silhouette School Blog Video Tutorial Silhouette School Blog Silhouette School Silhouette Studio

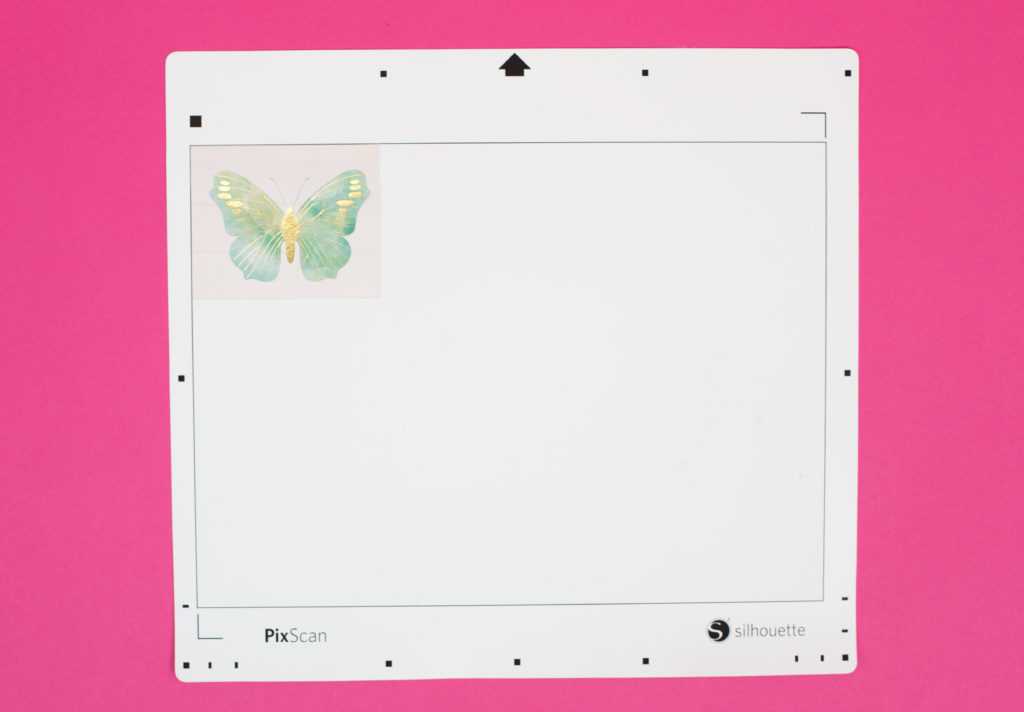
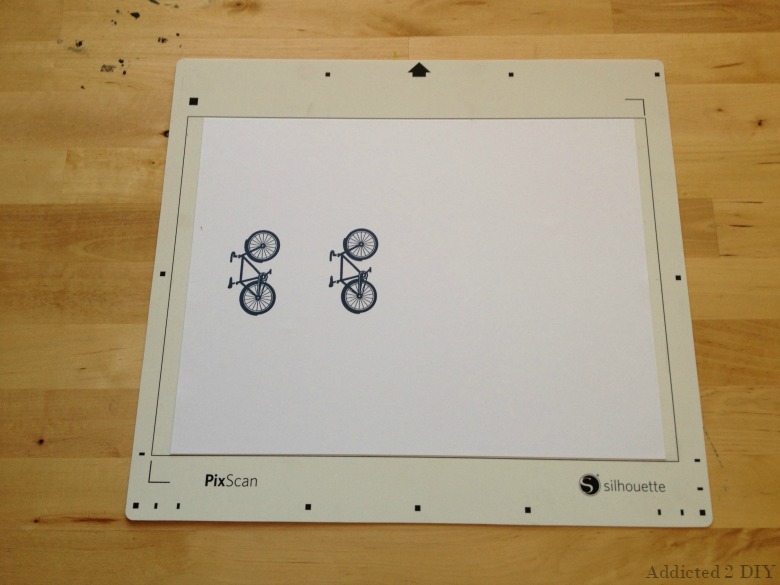
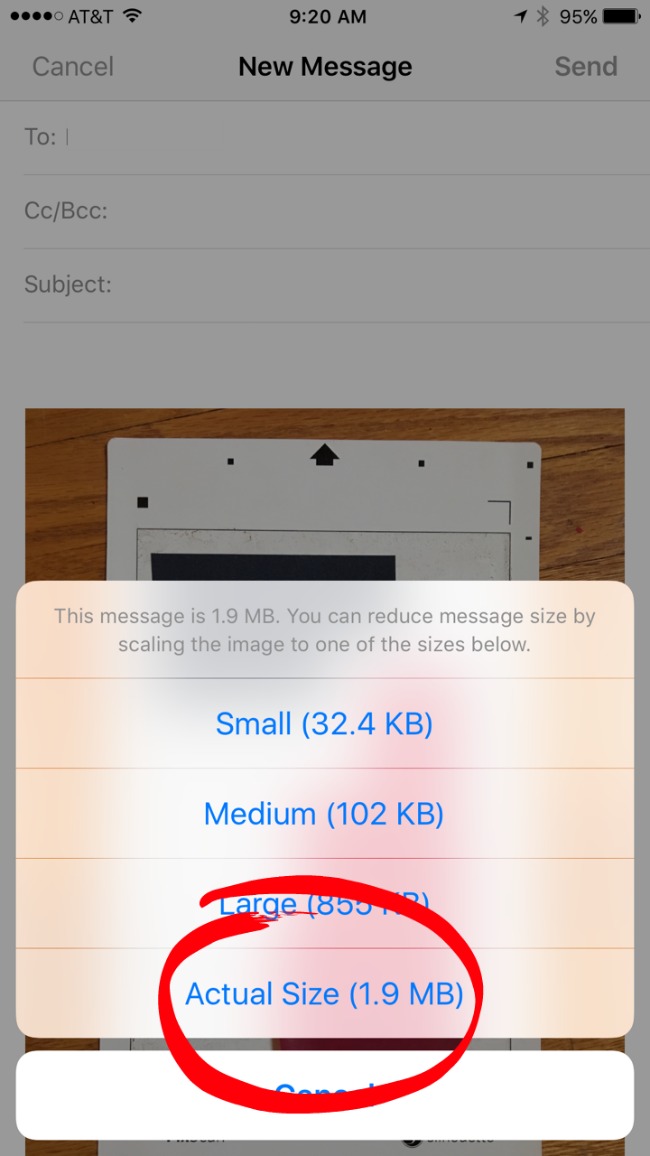
Any material placed on the mat can be imported into silhouette studio via scanner or camera and then have cut lines assigned through tracing drawing tools or opening designs.
How to load pixscan mat.
How To Cut Images With The Silhouette Pixscan Mat

Embellish Maker Fundamental Video 9 Fundamental Video Maker
Silhouette Pixscan Registration Failed 9 Ways To Fix The Error Silhouette School
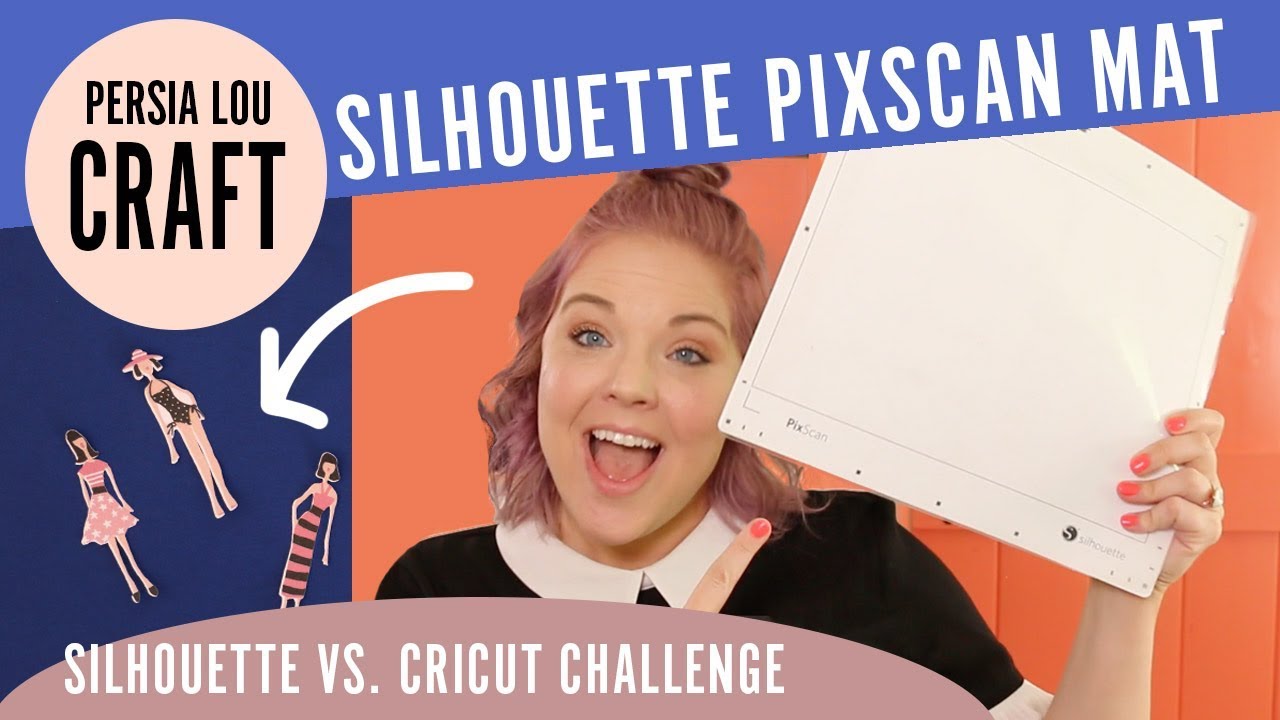
How To Use The Silhouette Pixscan Mat Tutorial Youtube
Source : pinterest.com
